Maintop DTP 6.1 is a very commonly used RIP software for Rainbow Inkjet UV printer users. In this article, we will show you how to process a picture that later can be ready for the control software to use. First, we need to prepare the picture in TIFF. format, usually we use Photoshop, but you can also use CorelDraw.
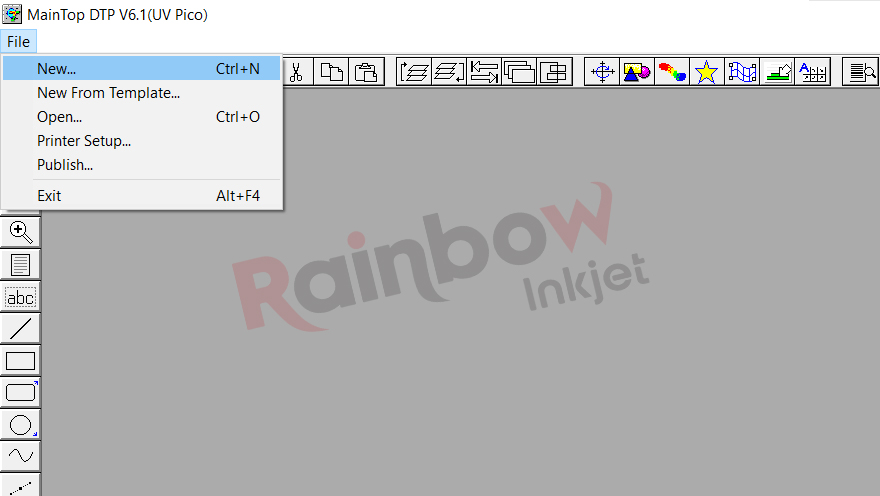
- Open the Maintop RIP software and ensure the dongle is plugged into the computer.
- Click File > New to open a new page.
- Set the canvas size and click OK to create the blank canvas, make sure the spacing here is all 0mm. Here we can change the page size similar to our printer work size.

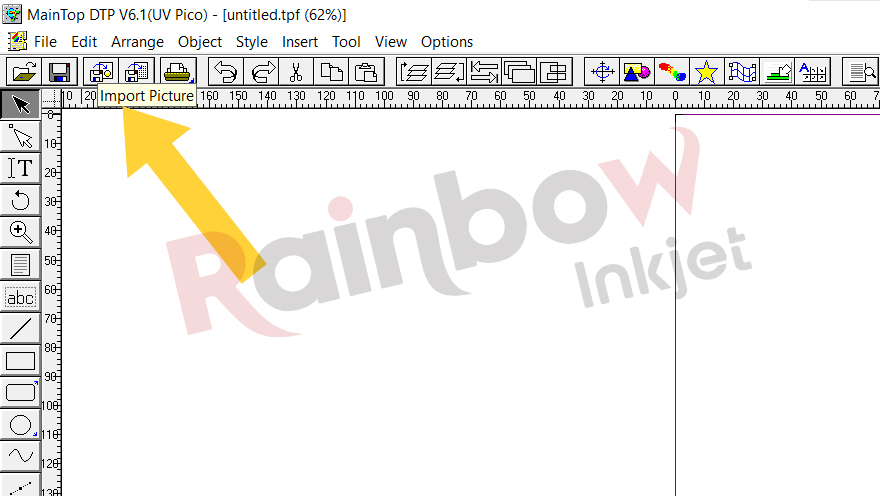
- Click Import Picture and select the file to import. Tiff. format is preferred.
- Choose the import picture setting and click OK.
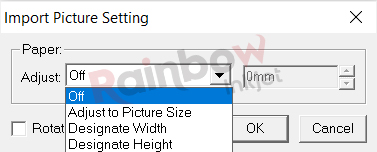
- Off: the current page size does not change
- Adjust to Picture Size: the current page size will be the same as the picture size
- Designate Width: the page width can be changed
- Designate Height: the page height can be changed
Select "Off" if you need to print multiple pictures or multiple copies of the same picture. Select "Adjust to Picture Size" if you only print one picture.
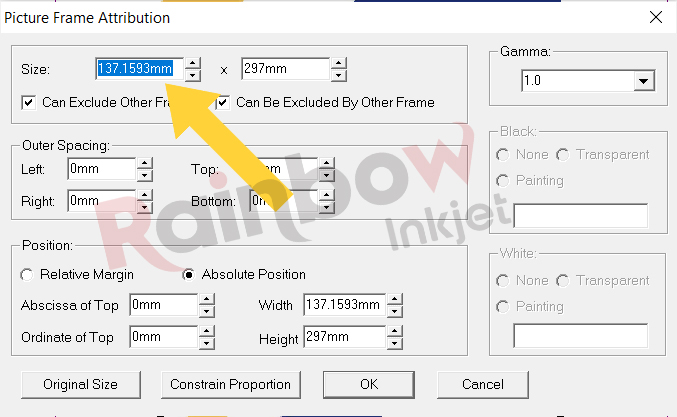
- Right-click the image > Frame Attribution to resize the image width/height as needed.
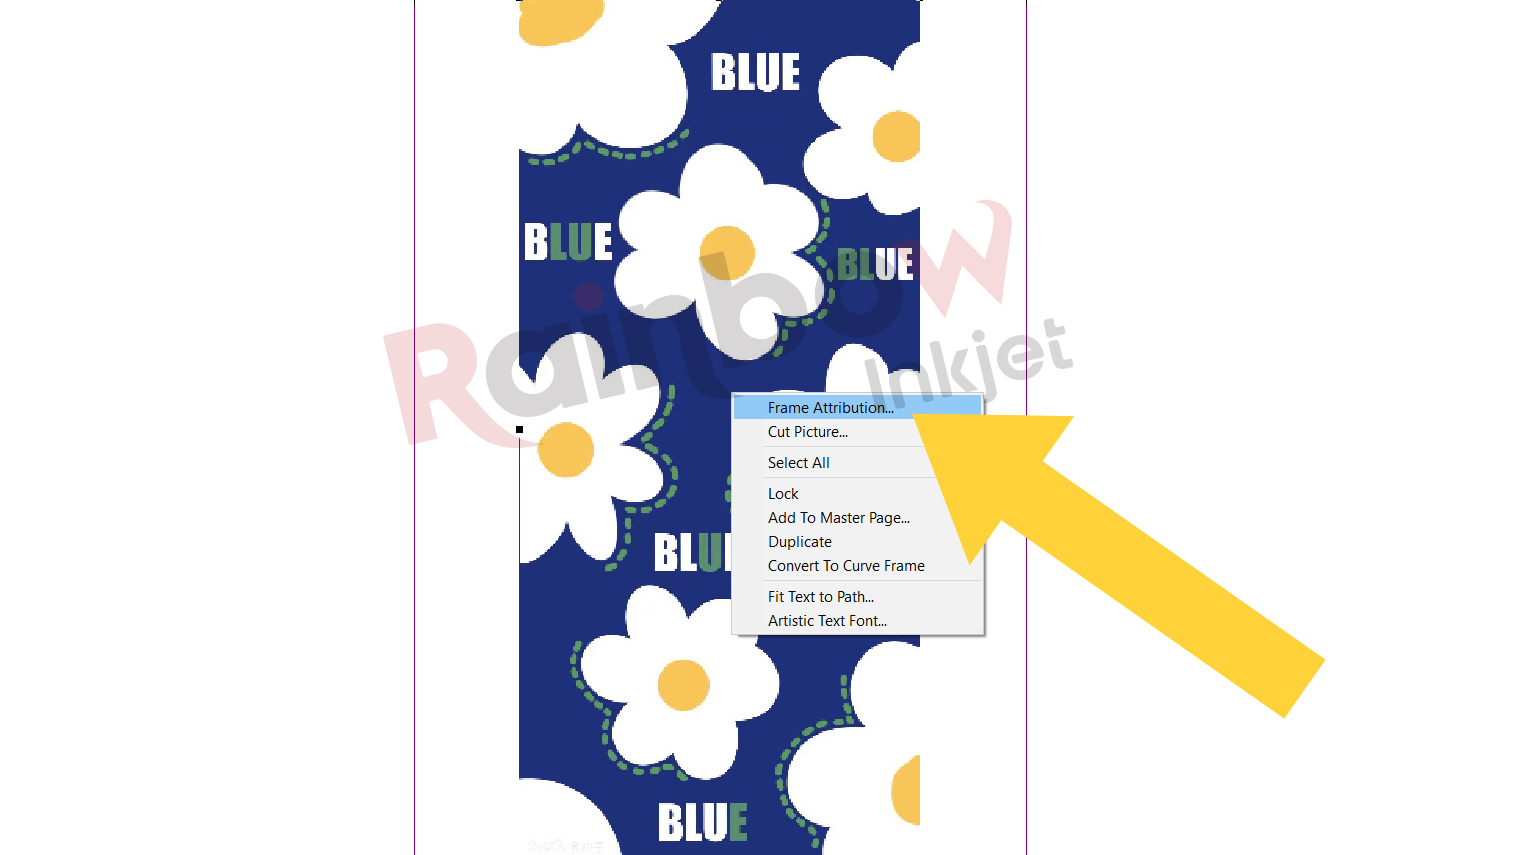
Here we can change the picture size to the actual printed size.
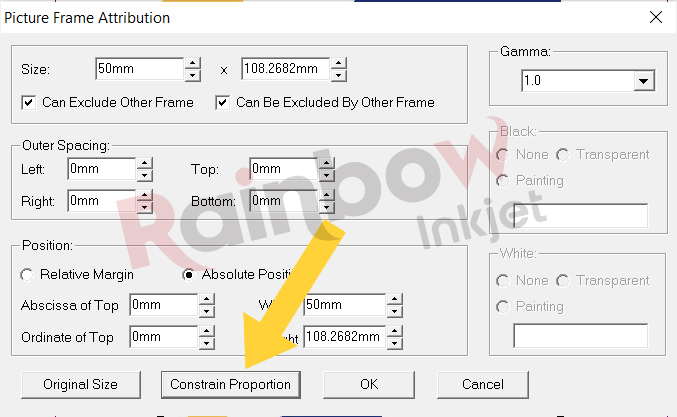
For example, if we input 50mm and don't want to change the proportion, click Constrain Proportion, then click OK.
- Make copies if needed by Ctrl+C and Ctrl+V and arrange them on the canvas. Use alignment tools like Left Align, and Top Align to line them up.
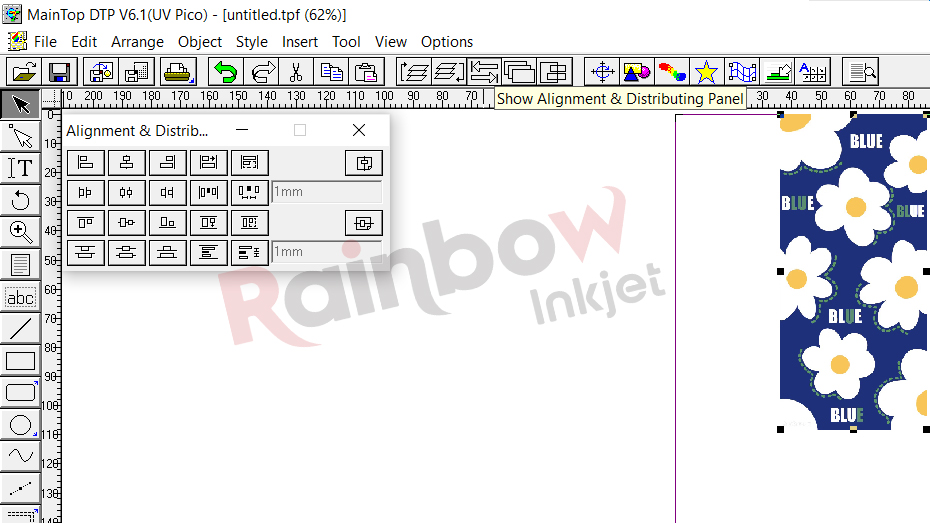
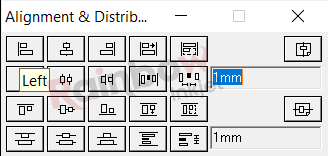 The pictures will line up along the left margin
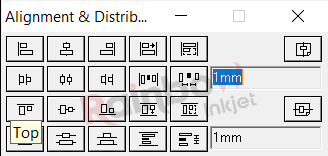 The pictures will line up along the top edge
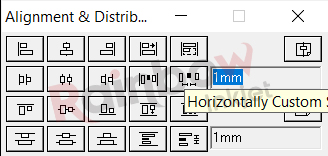 The space that is placed horizontally between elements in a design. After inputting the spacing figure and having the elements selected, click to apply
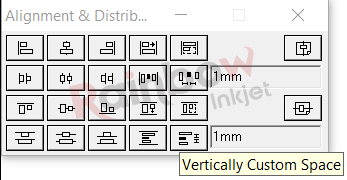 The space that is placed vertically between elements in a design. After inputting the spacing figure and having the elements selected, click to apply
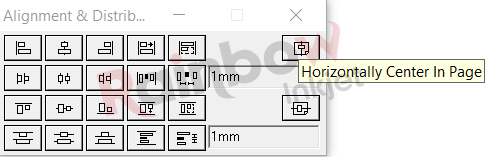 It adjusts the placement of images so that it is centered horizontally on the page
 It adjusts the placement of images so that it is centered vertically on the page
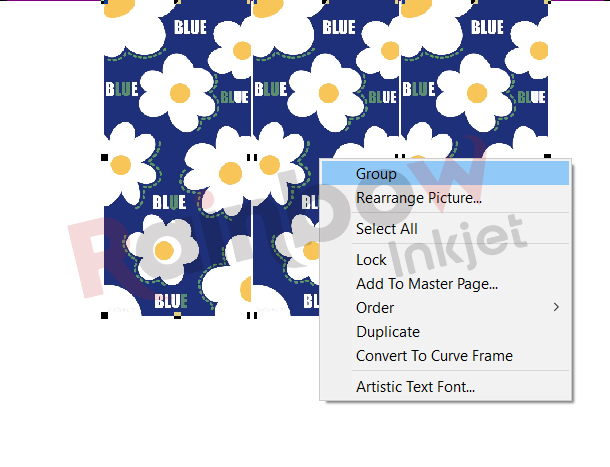
- Group objects together by selecting and clicking Group
- Click Show Metric Panel to check the coordinates and sizes of the picture.
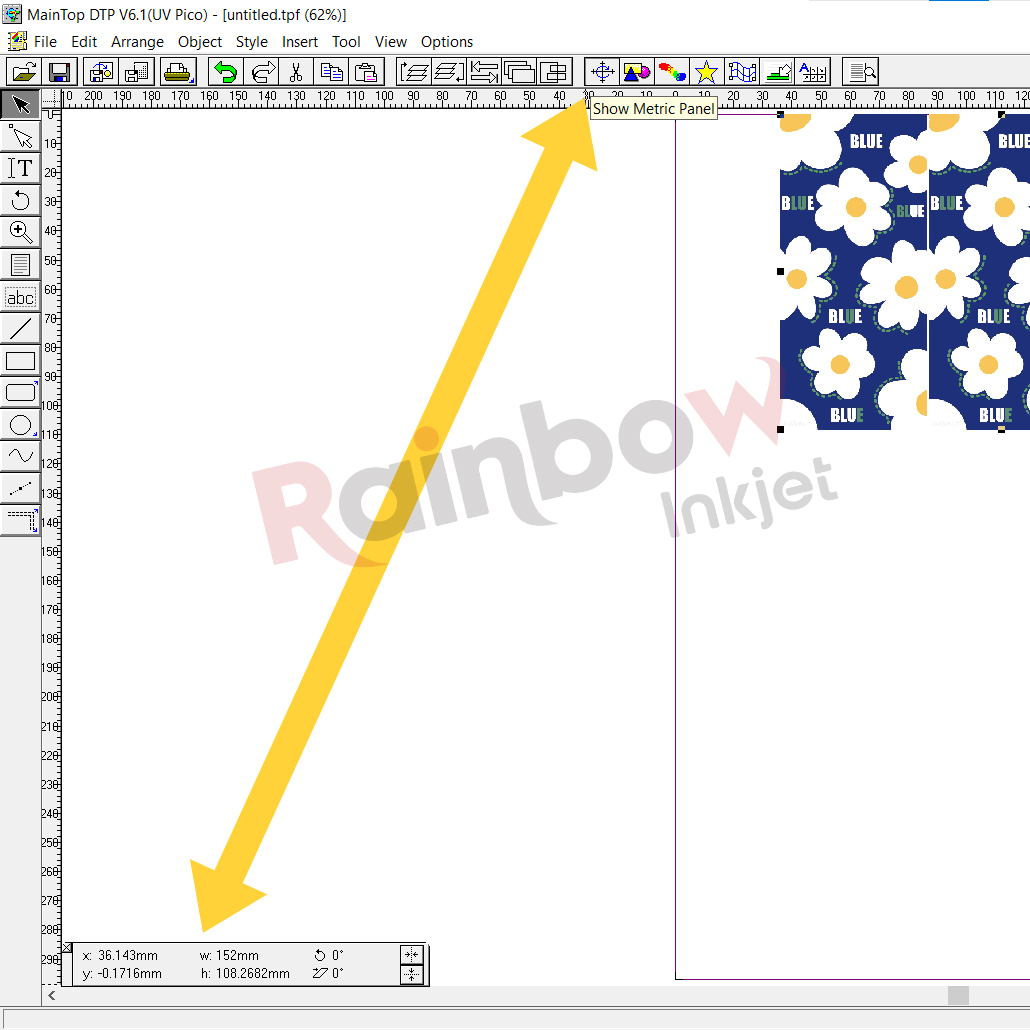
Input 0 in both X and Y coordinates and press Enter.

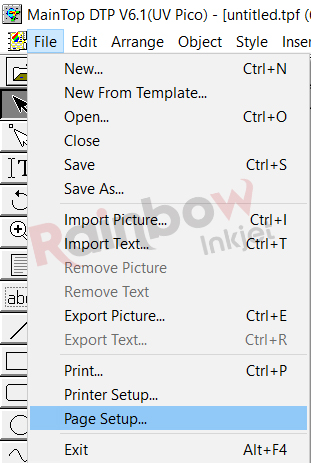
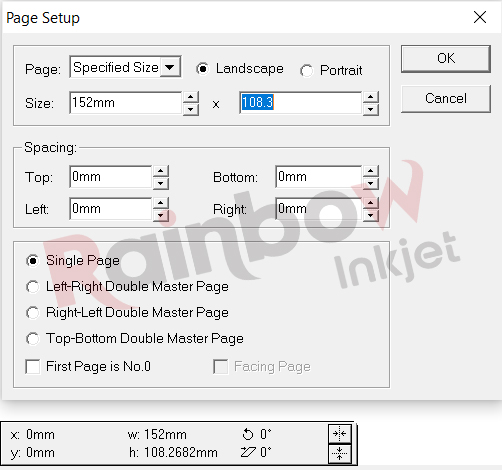
- Click File > Page Setup to set the canvas size to match the picture size. The page size can be slightly larger if not the same.
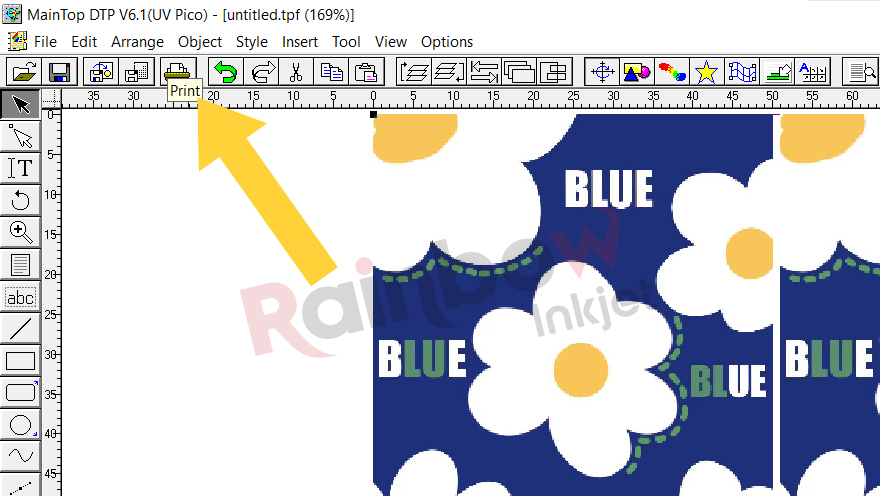
- Click Print to be ready for output.
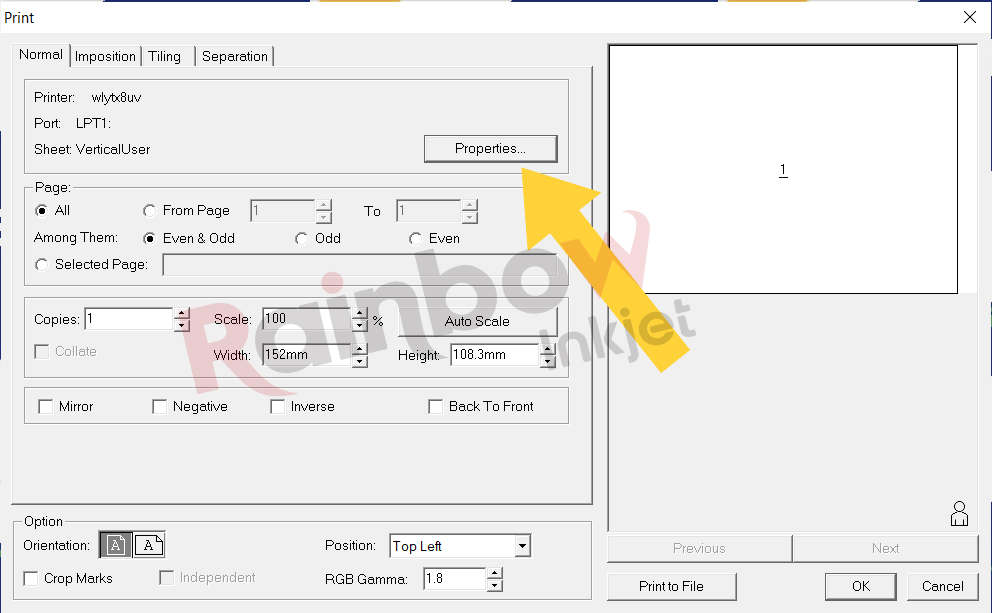
Click Properties, and check the resolution.
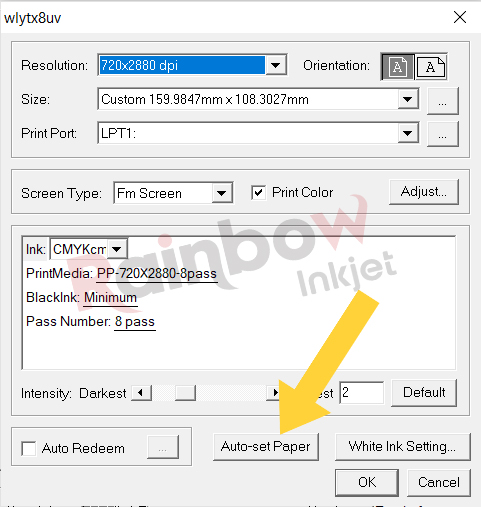
Click Auto-set Paper to set the page size the same as the picture size.
Click Print to File to output the picture.
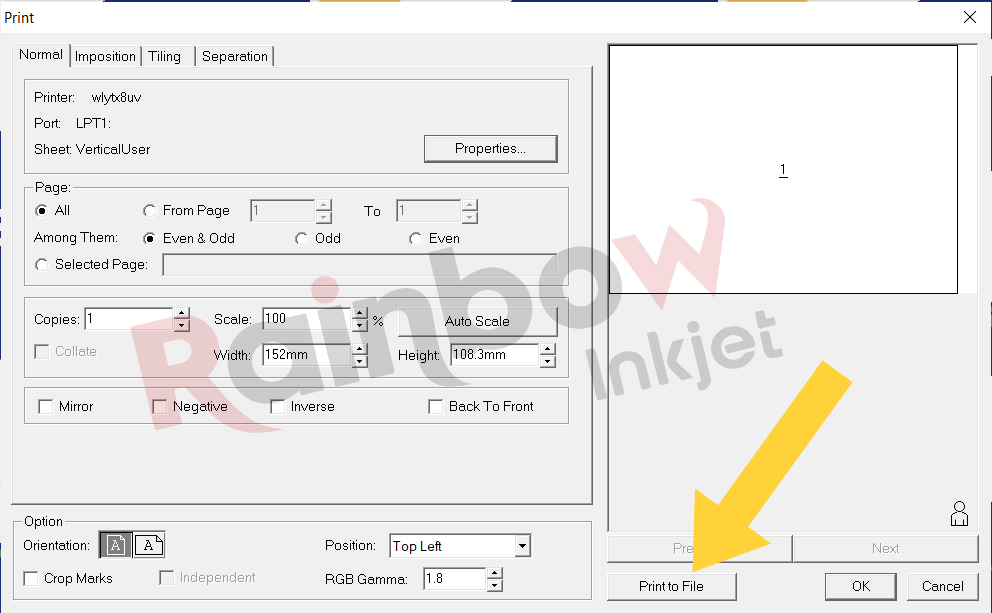
Name and save the output PRN file in a folder. And the software will do its job.
This is a basic tutorial for processing a TIFF picture into a PRN file which can be used in control software for printing. If you have any questions, welcome to consult our service team for technical advice.
If you are looking for a UV flatbed printer that use this software, welcome to contact our sales team as well, click here to leave your message or chat with our professionals online.
Post time: Dec-05-2023