Traditionally, the creation of gold foiled products was in the domain of hot stamping machines. These machines could press gold foil directly onto the surface of various objects, creating a textured and embossed effect. However, the UV printer, a versatile and powerful machine, has now made it possible to achieve the same stunning gold foiling effect without the need for expensive retrofitting.

UV printers are capable of printing on a wide range of products and materials, such as metal, acrylic, wood, glass, and more. Now, with the advent of new technology, UV printers can also achieve the gold foiling process seamlessly. The following is a step-by-step guide on how to achieve gold foiling with a UV printer:
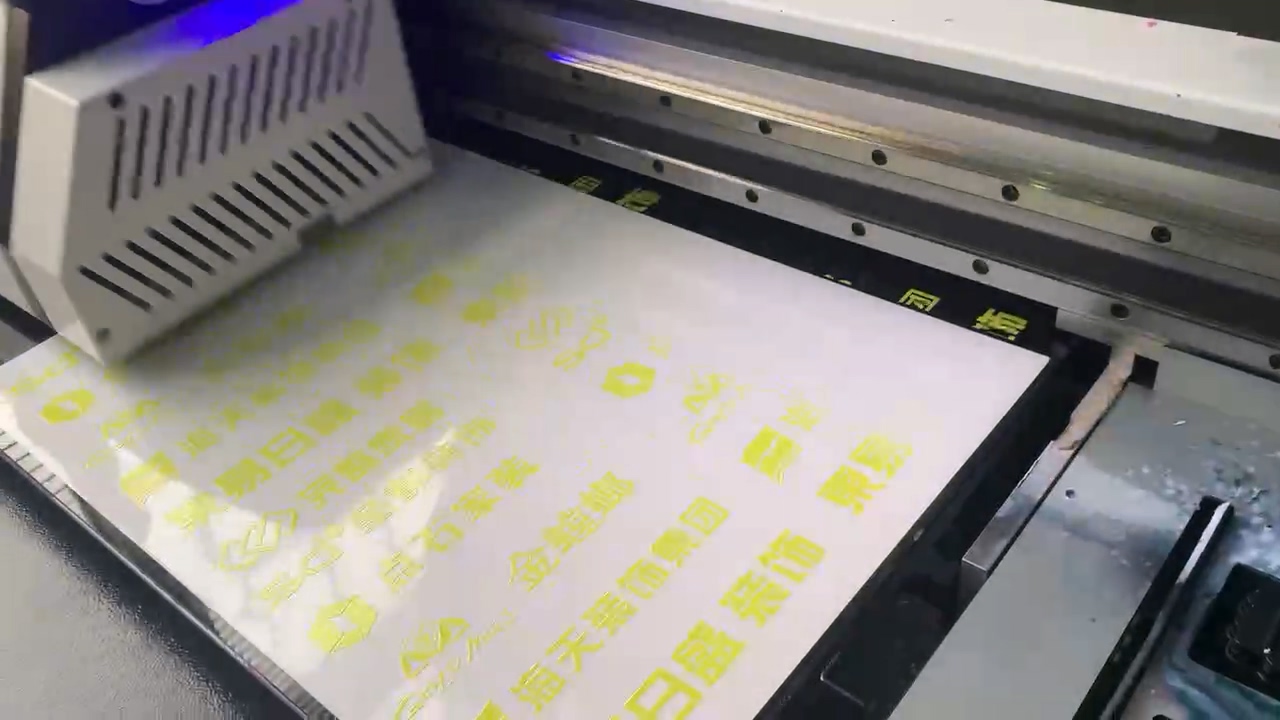
- Print on the A film: Print on the A film (the same base material for crystal labels) using a UV printer with white, color, and varnish inks to create an unlaminated crystal label. The white ink enhances the three-dimensional effect of the label, but it can be omitted if a less raised finish is desired. By only printing the varnish ink, the ink thickness is significantly reduced, resulting in a thinner final product.
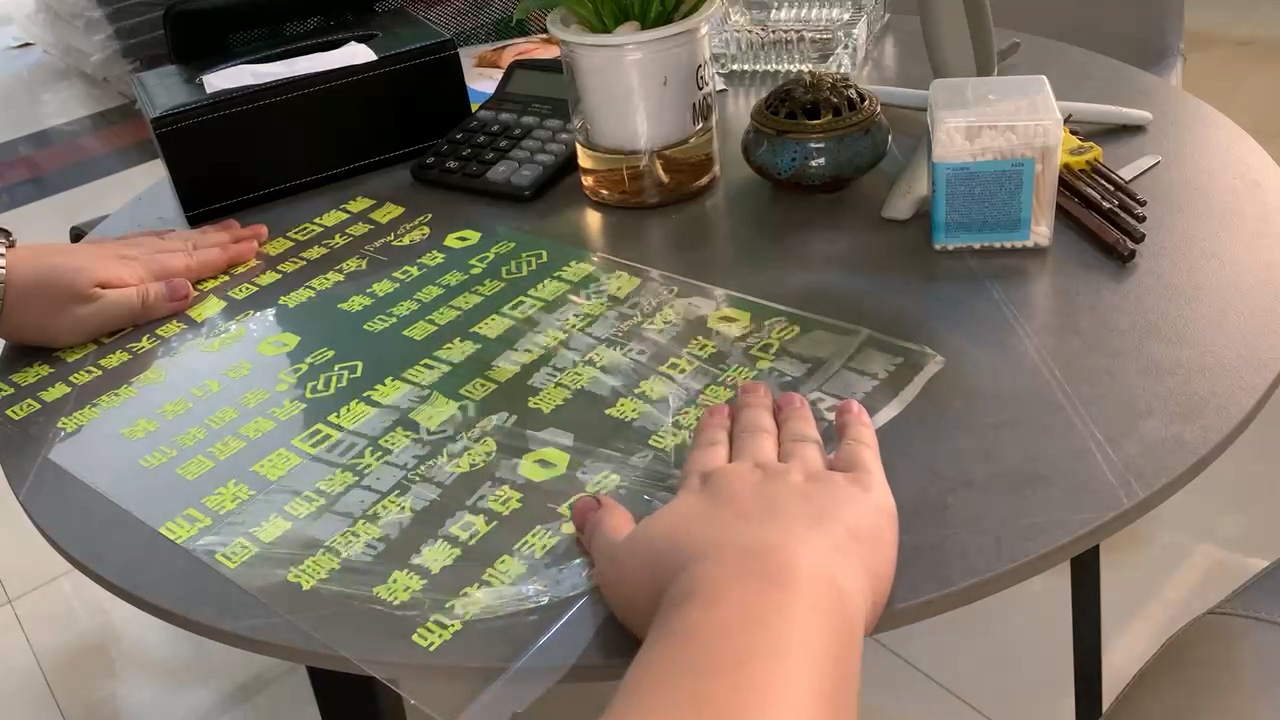
- Apply a specialized film: Use a laminator to apply a specialized B film (different from the B films used in the UV DTF process) as a cold laminate on top of the A film.
- Separate the A film and the B film: Quickly separate the A film and the B film at a 180-degree angle to remove excess glue and waste material. This step prevents the glue and waste from interfering with the subsequent gold foiling transfer process.
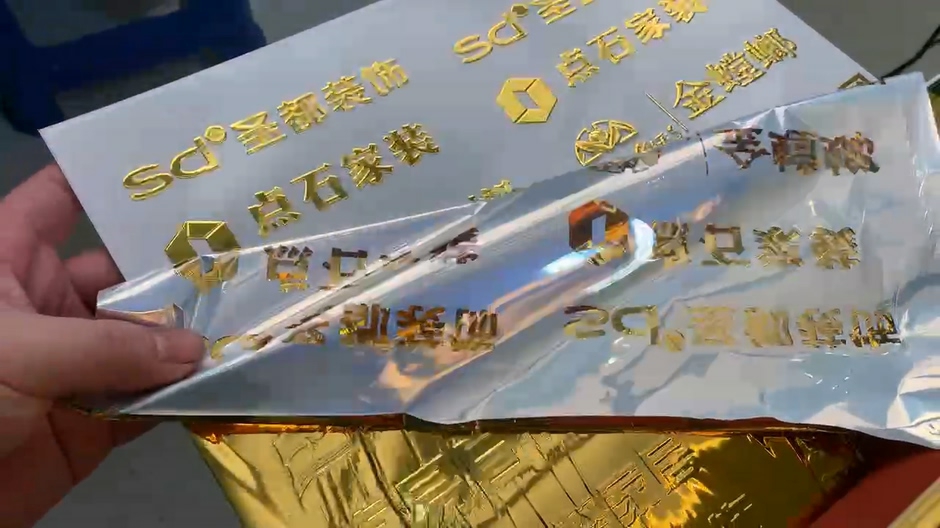
- Transfer the gold foil: Place the gold foil on the printed A film and feed it through the laminator, adjusting the temperature to around 60 degrees Celsius. During this process, the laminator transfers the metallic layer from the gold foil onto the printed pattern on the A film, giving it a golden sheen.
- Apply another layer of film: After the gold foil transfer, use the laminator to apply another layer of the same thin film used earlier to the A film with the gold foil pattern. Adjust the laminator's temperature to 80 degrees Celsius for this step. This process makes the sticker usable and protects the gold foiling effect, ensuring it is easy to preserve.
- Finished product: The result is a stunning, shiny gold crystal label (sticker) that is both visually appealing and durable. At this point, you will have a finished product with a glossy golden sheen.
This gold foiling process is applicable in various industries, such as advertising, signage, and custom gift manufacturing. The resulting gold crystal labels are not only attractive but also highly durable. If you are interested in learning more about this process and would like a more detailed operational guide, feel free to contact us. We can provide instructional videos to help you better understand the process.
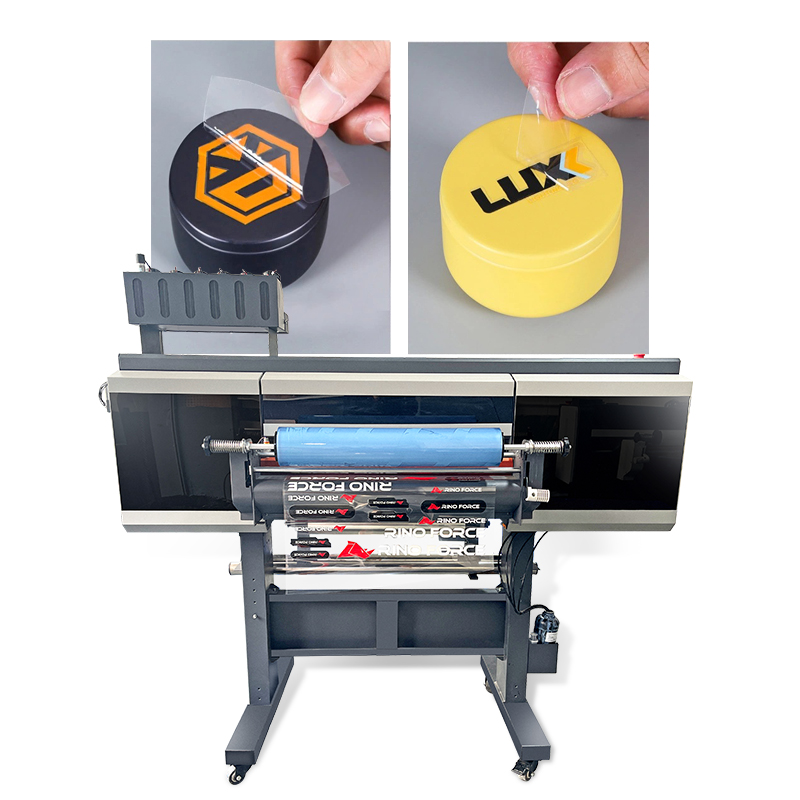
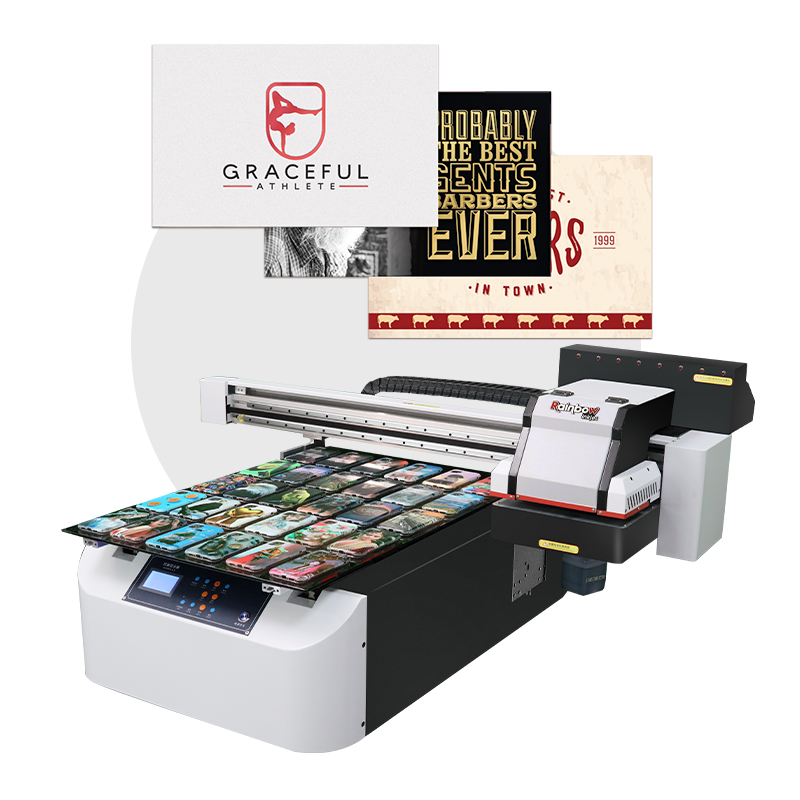
In addition, we highly recommend our flatbed printer, the Nano 9, and our UV DTF printer, the Nova D60. Both of these machines deliver excellent quality prints and provide the versatility needed to bring your gold foiling projects to life. Discover the limitless potential of our advanced UV printers and revolutionize your gold foiling process today.
Post time: May-11-2023