Print head clogging is a common problem with inkjet printers, especially when idle for a long time or using pigment ink or UV ink. Proper cleaning helps restore normal ink flow, improve print quality, and extend the service life of the print head. This article introduces some practical cleaning methods and provides solutions for users when problems occur.
- Simple Cleaning
- Auto Cleaning
- Manuel Cleaning
- Tips
1. Simple Cleaning
(1) Preparation: Soft brush, cleaning fluid (special printer cleaning fluid), vacuum cleaner.
(2) Clean the outside of the nozzle: Gently wipe the nozzle surface with a soft brush dipped in cleaning fluid to remove attached ink.
(3) Suck out residual ink: Use a vacuum cleaner to suck out residual ink inside the print head and keep the nozzle unobstructed.
This method is suitable for daily maintenance and simple cleaning of the print head.
2. Automatic Cleaning (for printers that support automatic cleaning)
(1) Turn on the printer: Connect the power supply, then turn on the printer and ensure it starts normally.
(2) Select the cleaning function: Find the "Print Head Cleaning" or "Automatic Cleaning" function on the printer's control panel or printer driver software. Note: The operation method varies slightly for different brands and models of printers.
(3) Add print head cleaning fluid: If the cleaning fluid needs to be manually refilled (some printers require manual injection), open the cleaning fluid inlet and pour in the specified amount of cleaning fluid. If it is attached to the print head cleaning equipment, add it according to the procedure. Note: Some printers may require the use of a special cleaning fluid injection system. Ensure the cleaning fluid is used in accordance with the equipment requirements.
(4) Perform automatic cleaning: Start the automatic cleaning function, and the printer will perform cleaning according to the set program. During the cleaning process, the printer will let the cleaning fluid flow through the print head to remove ink residues inside.
(5) Check the cleaning effect: After cleaning, the printer usually prints a test page to check if the print head has returned to normal. If the print effect is not ideal, you can try repeating the cleaning or use manual cleaning for deep cleaning.
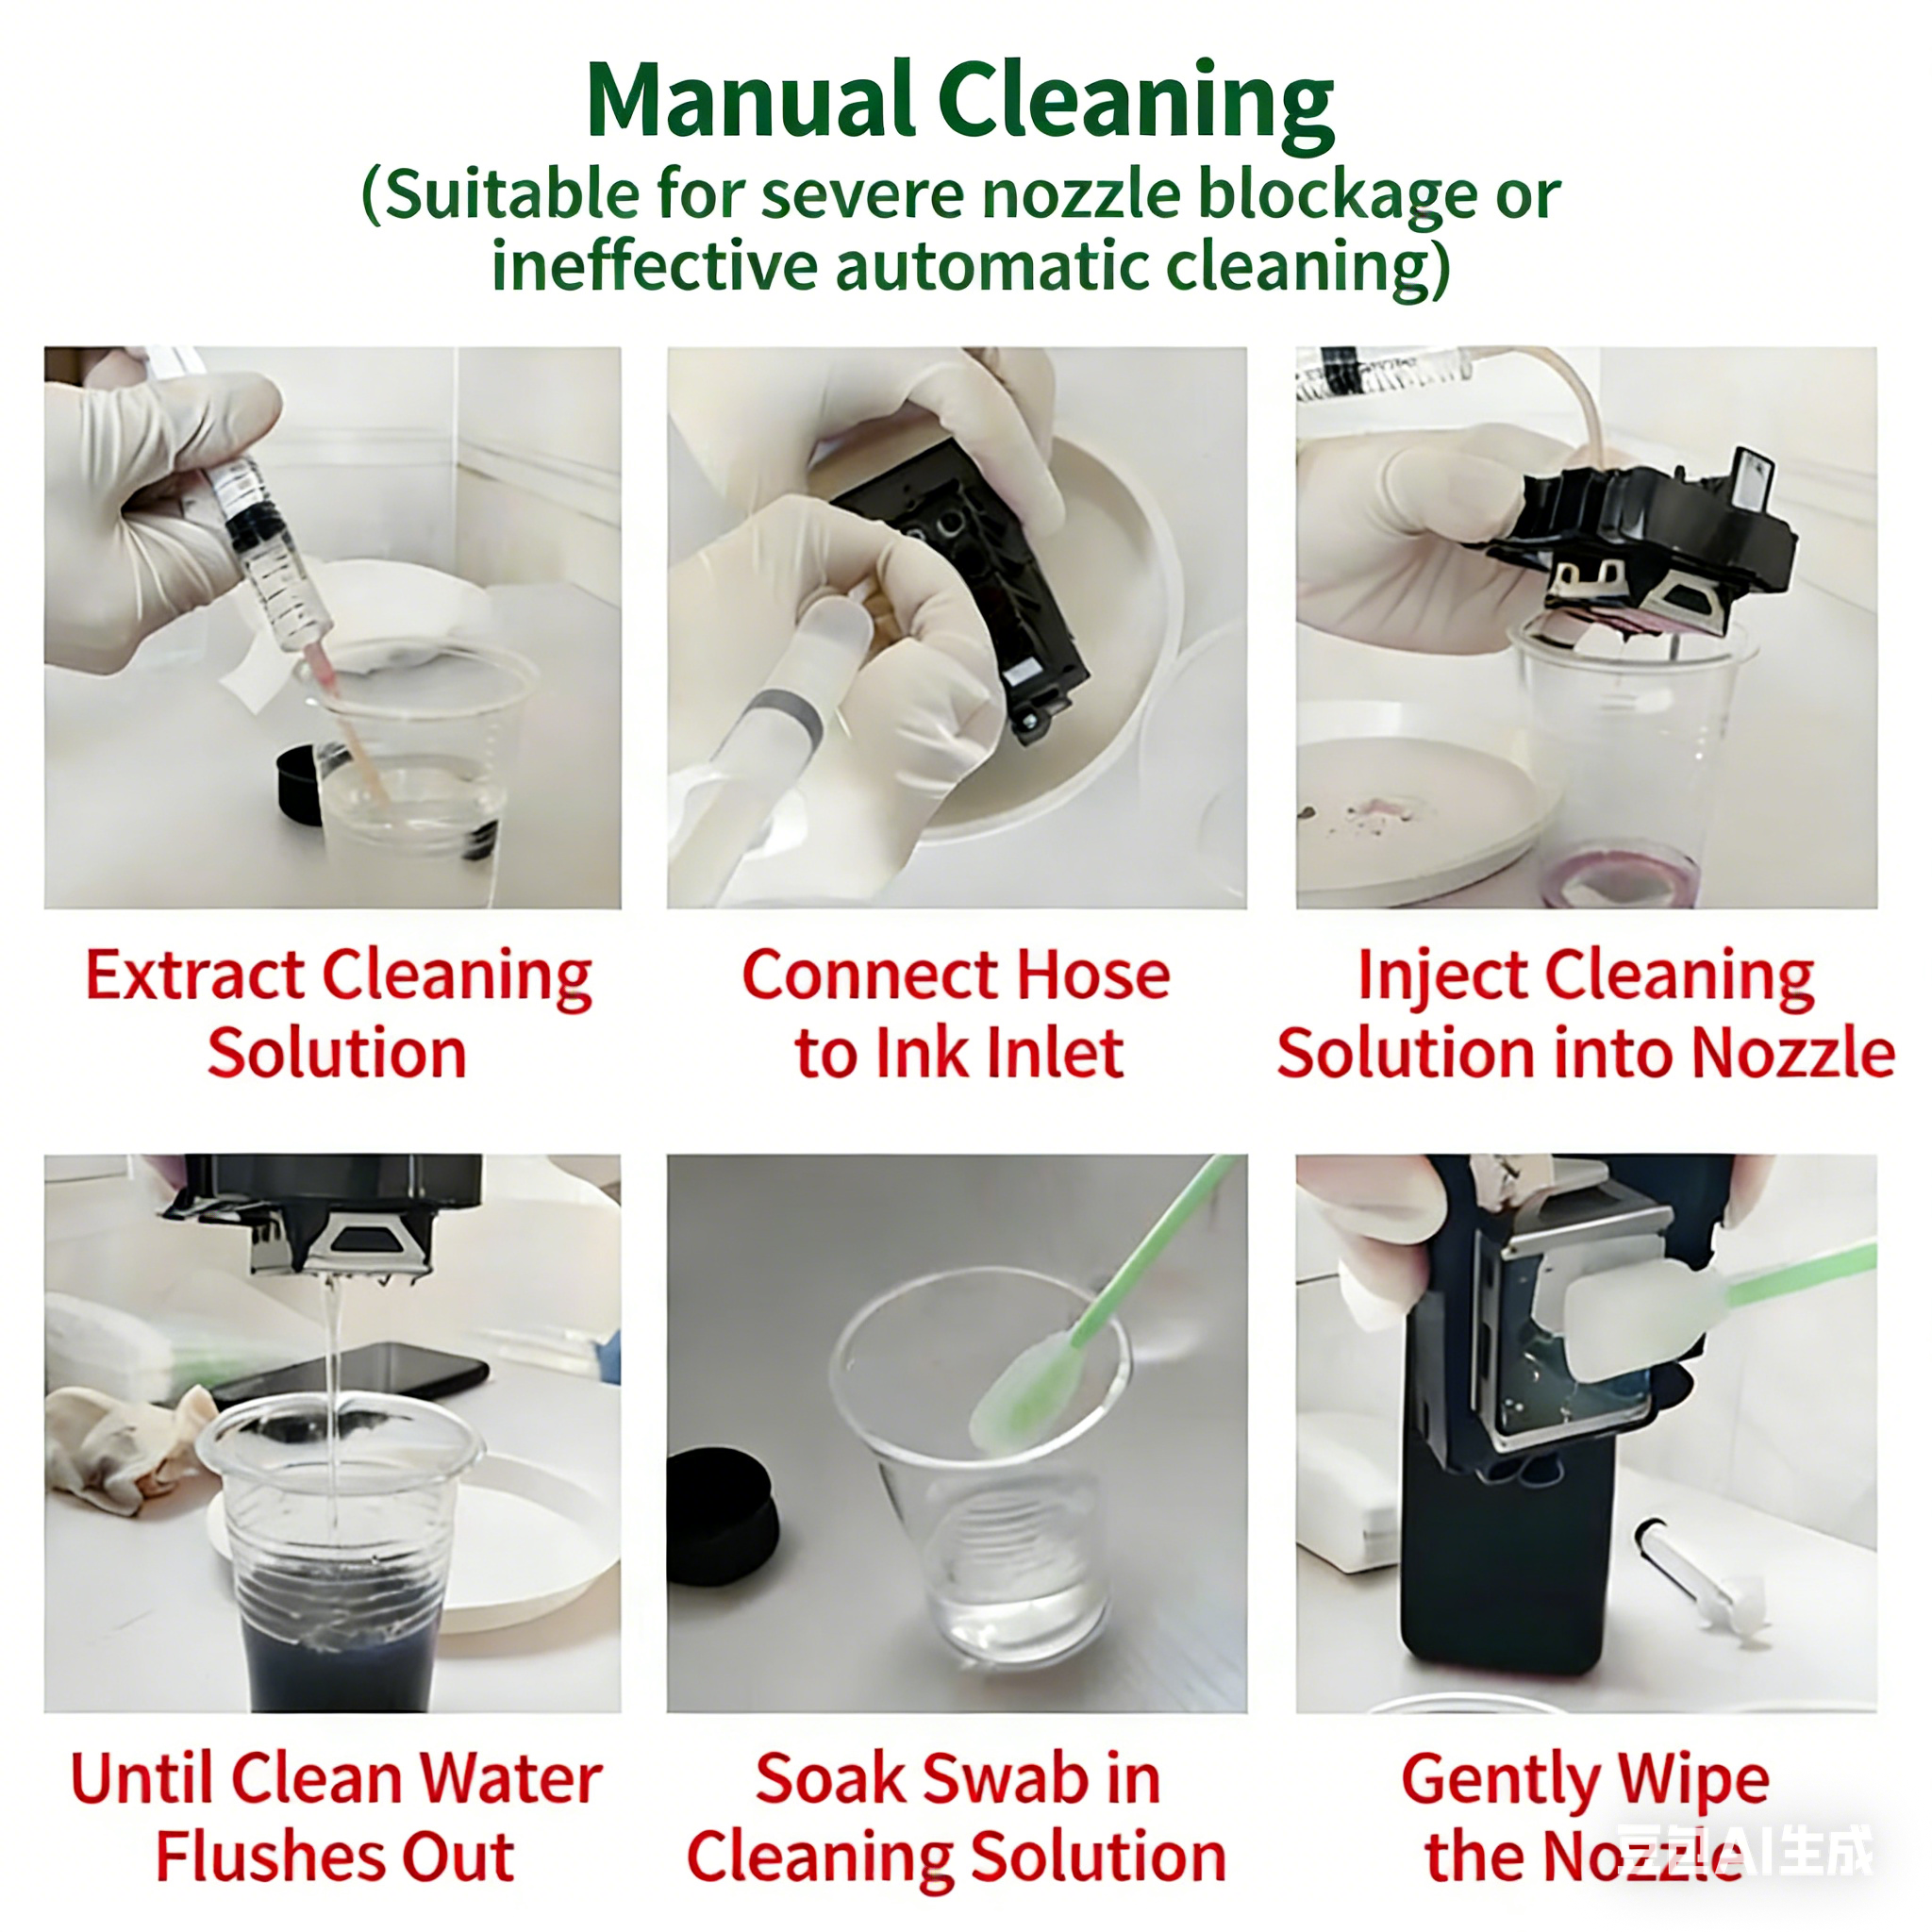
3. Manual Cleaning (for severe print head clogging or ineffective automatic cleaning)
3.1 Syringe Flushing Method
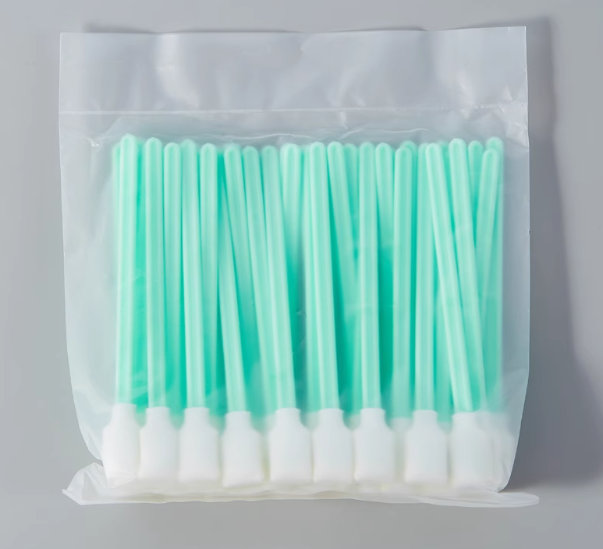
(1) Prepare required tools: Syringe, cleaning fluid, hose or connecting tube, cotton swabs or non-woven fabric.
(2) Connect the syringe and print head: Connect one end of the hose or connecting tube to the syringe and the other end to the cleaning port or ink channel of the print head. Ensure a tight connection to avoid cleaning fluid leakage. Draw an appropriate amount of cleaning fluid into the syringe, usually about 10ml to 20ml. Use special print head cleaning fluid and adjust the dosage according to the degree of print head clogging.
(3) Inject cleaning fluid: Slowly push the plunger of the syringe to gently inject the cleaning fluid into the ink channel of the print head. When injecting, apply even pressure to avoid excessive pushing, which may damage the print head. Gradually push the cleaning fluid and observe if ink residues or dirt are flushed out. If ink residues appear in the cleaning fluid, it means the clog is being removed. For severely blocked print head channels, multiple injections may be needed. Pause for a while after each injection to allow the cleaning fluid to dissolve the clog.
(4) Clean the print head: After injecting the cleaning fluid, use cotton swabs or non-woven fabric to wipe the print head surface and remove possible dirt or ink residues. If the print head is very dirty, repeat the injection step until no more ink residues appear in the cleaning fluid. After injecting the cleaning fluid, you can rinse the print head with appropriate clean water. Use the syringe to gently inject clean water to ensure the inside of the print head is clean without residual cleaning fluid or ink.
3.2 Soaking Method
(1) Remove the print head: If the printer allows removing the print head, follow the printer manual to do so. Be careful during disassembly to avoid damaging the print head.
(2) Soak the print head: Pour the print head cleaning fluid into a container, ensuring the liquid just covers the print head. Do not use excessive cleaning fluid and avoid contact with the circuit board. Soak the print head in the cleaning fluid for 15 minutes to 1 hour. This helps remove dried ink and other deposits.
(3) Clean the print head: Use a soft cloth or cotton swab dipped in cleaning fluid to gently wipe the nozzle part of the print head. Do not apply excessive force to avoid damage.
(4) Rinse the print head: After soaking and wiping, gently rinse the print head with clean water to ensure complete removal of cleaning fluid and ink residues.
(5) Reinstall the print head: After cleaning, reinstall the print head back into the printer. Ensure it is installed correctly and firmly.
(6) Check the cleaning effect: After reinstallation, connect the print head and perform a print test to check if it sprays normally. You can print a print head test page to check the spraying effect and print quality.
3.3 Ultrasonic Cleaner Method
- Scope of application: Most severe clogging.
- Working principle: Use an ultrasonic cleaner to generate strong ultrasonic waves, which make water molecules vibrate violently. This vibrates and breaks down small dried ink particles, dissolving them in water to achieve cleaning.
- Operation steps:
(1) Prepare cleaning fluid: Special cleaning fluid is recommended. If not available, pure alcohol can be used, but it must be high-concentration alcohol (95% is best).
(2) Soak the print head: Put the removed print head into the cleaner. The liquid level should just cover the clogged area of the print head (note: do not let the PCB board come into contact with pure water or special cleaning fluid).
(3) Start cleaning: Turn on the ultrasonic cleaner and clean for about 3-5 seconds. Adjust the time according to the clogging situation.
(4) Check the effect: After cleaning, gently wipe the print head surface with a tissue and then perform a nozzle test. If the ink sprayed by the print head is uneven, clean it again.
(5) Dry thoroughly: This step is crucial! Ensure the print head is completely dry before reinstalling it into the printer. Otherwise, a damp print head may short-circuit and be damaged. - Notes:
(1) Do not clean for too long to avoid damaging the print head.
(2) Ensure thorough drying after cleaning—this is the key to avoiding damage.
(3) Ultrasonic cleaning cannot repair damaged print heads; it is only suitable for clogging problems.
4. Tips
- In daily use, perform simple or moderate cleaning regularly to effectively prevent print head clogging.
- Be sure to use cleaning fluid compatible with your ink type (dye, pigment, UV, etc.).
- Do not apply excessive force when injecting liquid—this may damage the print head.
- Avoid cleaning fluid contacting the circuit board.
- Wear gloves and work in a clean environment to avoid contamination.
- During cleaning, pay attention to the ink output of the nozzle. If abnormalities are found, adjust the cleaning method in time.
- When the UV printer is not in use for a long time, it is recommended to remove the print head, clean it with cleaning fluid, and store it sealed with plastic wrap.
Welcome to follow our Youtube to get more instruction!
Post time: Jan-28-2026