In the competitive world of digital printing, standing out requires more than just high-resolution colors. Modern businesses and creators are increasingly looking for tactile, premium finishes that command attention and justify higher price points. Today, we’re diving into two of the most sought-after advanced UV effects: 3D Embossing and Hot Stamping (UV Foiling).
At Rainbow Inkjet, we provide the industrial-grade technology needed to master these effects with ease. Let’s break down how you can unlock these creative pathways.
1. 3D Embossing: Adding Texture and Depth
3D embossing, also known as "Braille printing" or "texture printing," transforms a flat image into a touchable masterpiece. This effect is perfect for premium phone cases, decorative paintings, and high-end packaging.
How It Works:
The secret lies in White Ink Layering.
- Preparation: In your RIP software, define the areas where you want the embossed effect.
- White Ink Base: The printer applies multiple passes of high-density white ink to these specific areas, building up a physical layer on the substrate.
- Color Overlay: Once the white ink reaches the desired height, the CMYK layer is printed directly on top.
- Varnish Finish: Finally, a layer of UV Varnish is applied to provide a glossy or matte protective finish, enhancing the 3D look.
Result: A stunning, textured finish that customers can feel.
2. Hot Stamping: The Gold Standard of UV Printing
Hot stamping (UV Foiling) adds a brilliant metallic finish—gold, silver, or holographic—without the need for traditional dies or plates. This is widely used in gift boxes, labels, and customized accessories.
Step-by-Step Guide:
- Print Varnish Adhesive: Use your Rainbow UV printer (like the Nano 9) to print a specialized "foiling varnish" on the parts of the design you want metallic.
- Apply Foil: Lay a metallic foil sheet over the printed substrate.
- Heat & Bond: The UV lamp or a separate laminator provides the heat necessary to bond the foil to the varnish layer.
- Peel & Reveal: Once cool, peel away the excess foil. The metallic finish will remain only where the varnish was printed.
Watch it in action:
https://www.youtube.com/watch?v=DSISZZUkG4U
3. Recommended Hardware for Advanced Effects
To achieve consistent, high-quality results, your hardware matters. Rainbow Inkjet offers a range of UV printers designed for precision:
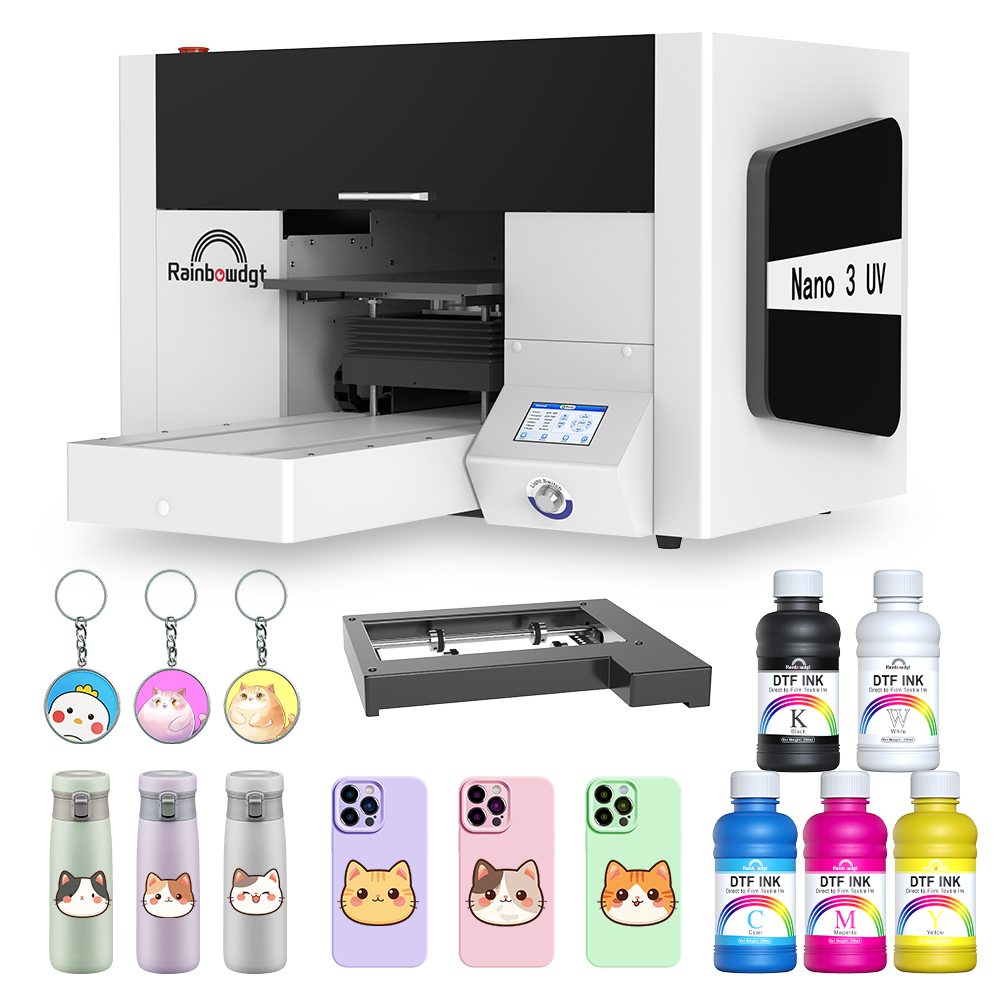
- Nano Series (Nano 3 / Nano 9): Compact yet powerful, these four-in-one desktop UV printers are ideal for startups and small-scale industrial production. They support White + CMYK + Varnish in a single pass.
- RB Series (RB-4060 / RB-6090): Large-format flatbed printers for high-volume production, offering incredible stability and industrial-grade printheads.
4. Why Choose Rainbow Inkjet?
With over 15 years of experience in the printing industry, we don't just sell machines; we provide solutions. From printhead maintenance to advanced printing techniques, our team is here to support your growth.
Boost Your Conversions:
Ready to upgrade your printing capabilities? Check out our latest tutorials and machine demos on our Official YouTube Channel.
https://www.youtube.com/watch?v=r9pRb-43s2s
Contact us today at Rainbow Inkjet to find the perfect printer for your business!
Post time: Jun-02-2026