Starting out with a UV printer can be a bit tricky. Here are some quick tips to help you avoid common slip-ups that could mess up your prints or cause a bit of a headache. Keep these in mind to make your printing go smoothly.
Skipping Test Prints and Cleaning
Every day, when you turn on your UV printer, you should always check the print head to make sure it's working correctly. Do a test print on a transparent film to see if all the ink channels are clear. You might not see issues with white ink on white paper, so do a second test on something dark to check the white ink. If the lines on the test are solid and there are only one or two breaks at most, you're good to go. If not, you need to clean until the test looks right.

If you don't clean and just start printing, your final image might not have the right colors, or you might get banding, which are lines across the image that shouldn't be there.
Also, if you're printing a lot, it's a good idea to clean the print head every few hours to keep it in top shape.
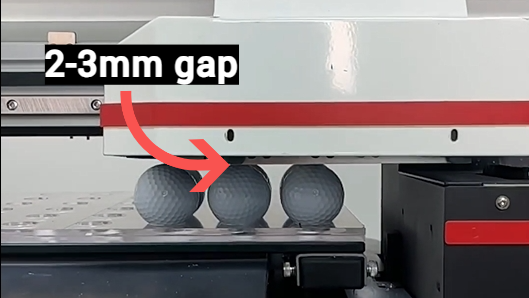
Not Setting the Print Height Right
The distance between the print head and what you're printing on should be about 2-3mm. Even though our Rainbow Inkjet UV printers have sensors and can adjust the height for you, different materials can react differently under the UV light. Some might swell up a bit, and others won't. So, you might have to adjust the height based on what you're printing on. Many of our customers say they like to just look at the gap and adjust it by hand.
If you don't set the height correctly, you can run into two problems. The print head could hit the item you're printing on and get damaged, or if it's too high, the ink might spray too wide and make a mess, which is hard to clean up and could stain the printer.
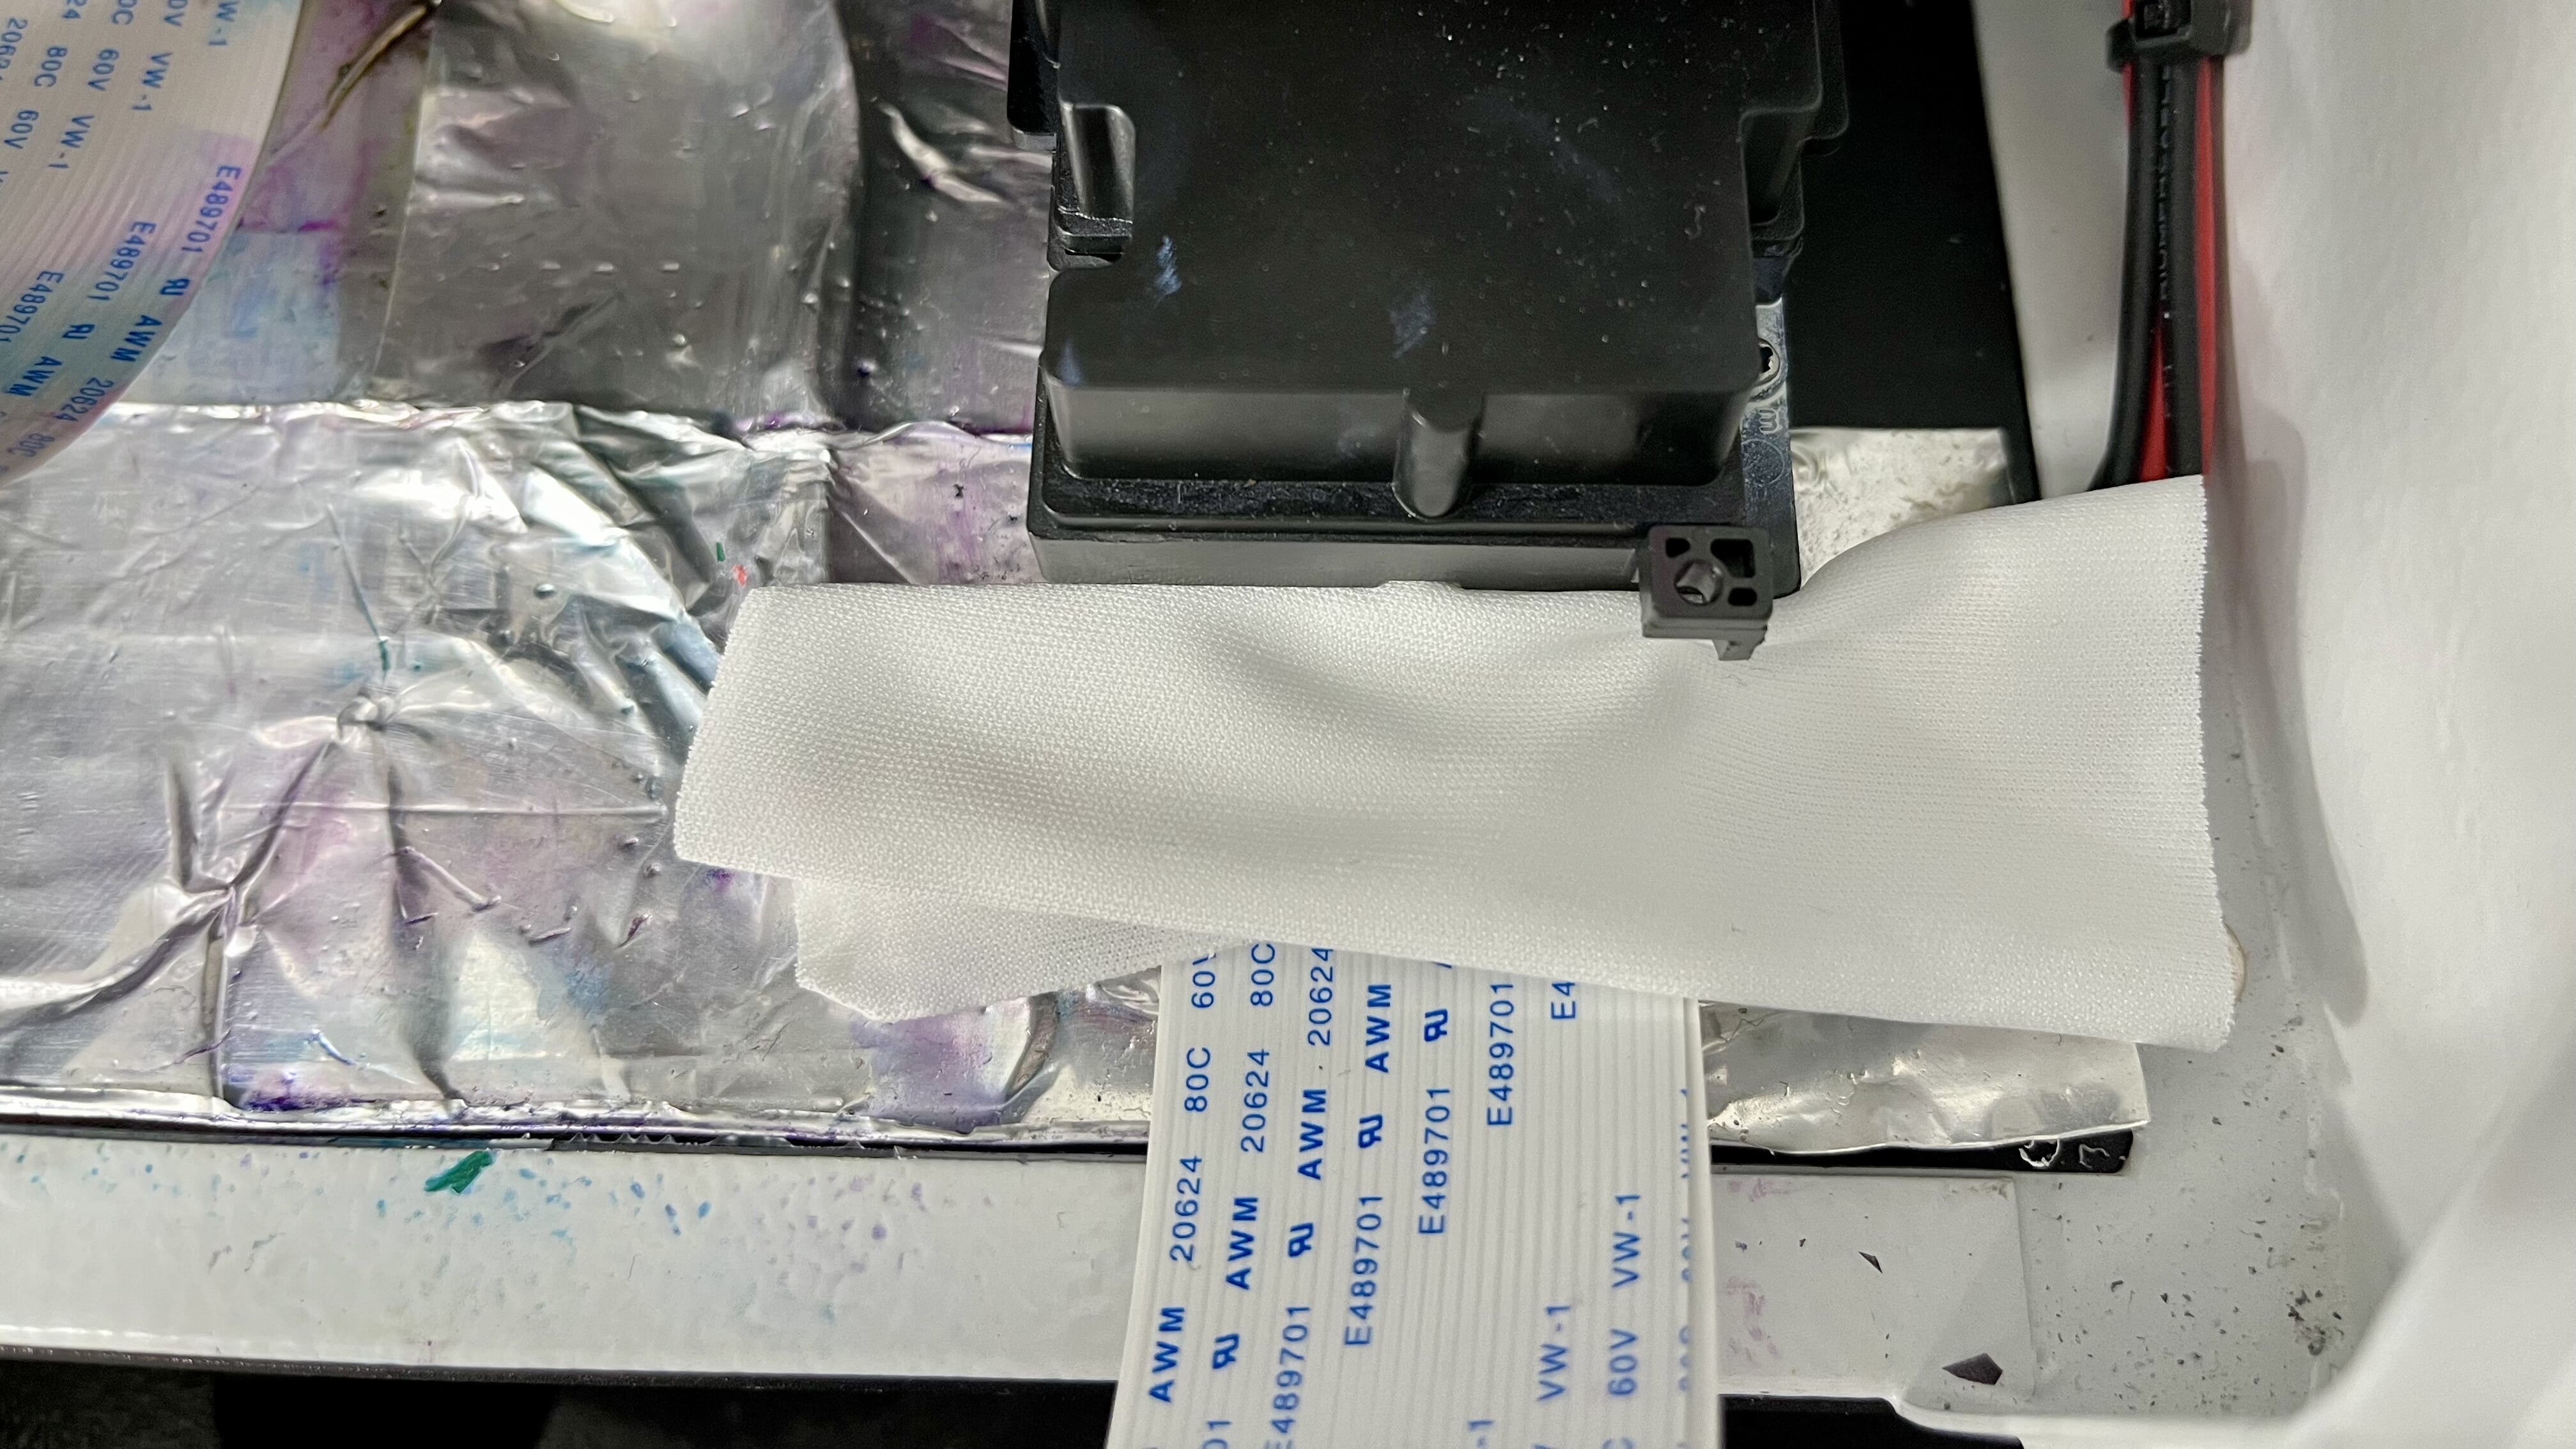
Getting Ink on the Print Head Cables
When you're changing the ink dampers or using a syringe to get ink out, it's easy to accidentally drop ink on the print head cables. If the cables are not folded up, the ink can run down into the print head's connector. If your printer is on, this can cause serious damage. To avoid this, you can put a piece of tissue at the end of the cable to catch any drips.
Putting in the Print Head Cables Wrong
The cables for the print head are thin and need to be handled gently. When you plug them in, use steady pressure with both hands. Don't wiggle them or the pins could get damaged, which might result in bad test prints or could even cause a short circuit and damage the printer.
Forgetting to Check the Print Head When Turning Off
Before you turn off your printer, make sure the print heads are covered properly by their caps. This keeps them from getting clogged. You should move the carriage over to its home position and check that there's no gap between the print heads and their caps. This makes sure you won't have problems when you start printing the next day.
Post time: Jan-09-2024